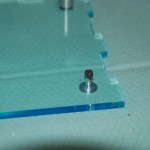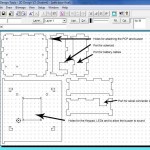
These are my final design files for the outer case, inner case and the door: I’ve included holes to allow me to attach the PCB, buzzer, keypad and the LEDs as well as ports in the door panels to allow me to access the stereo PICAXE connector, for the battery cable and for the solenoid […]
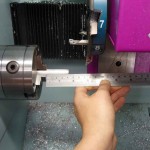
To give a contrast to the acrylic case I decided to make a support structue out of aluminium, it would keep the inner case in place and also provide strength and stability to the outer case. As I would need multiples of the same items I decided to use the CNC lathe (H+S info here) […]
As the basic programme stands the safe lock resets after 5 seconds, this is not useful if you are taking anything out as you would have to re-enter the code to pull back the bolt to close the door. I need to be able to control the lock timing. I’d like to do this by […]
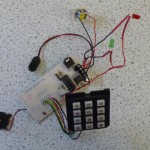
Now that I have all my pieces cut and temporarily fixed together (thank you masking tape) I need to return my attention to my wiring. The flying leads I used when first putting the keypad together are far too long and are made from single core wire making them very stiff and prone to breaking […]
Everything has been cut and and I’m ready to start construction, first step, have a practice run… All the pieces slot together so I can construct the box and check any fit issues without needing to glue anything. After extending the battery cable I realised that I have not allowed space for the on/off switch, a […]
The worst has happened, after all my trawling for solenoids, making sure it had a proper return spring and creating the board to fix it within the case I seem to have forgotten something important… The stroke length of the bolt!! Due to the clearance needed either side of the door to allow it to […]
OK, the finished product, wow it’s taken a lot to get here and I wasn’t wrong when I referred to it as a yellow brick road, at some points in this process it really has felt like I’d been whisked off to OZ… The case has come out better than I had hoped for with […]