Right, Ok then, Eeeep…
This originally sounded like Dean was asking me to something on par with “just run along to the nearest dragons lair and bring me back some rubies would you , oh and careful you don’t get scorched along the way”. Me? Make a PCB? From scratch? Right.
First step, what is a PCB? Well as I found out it stands for Printed Circuit Board and is the basis for almost every electronic product out there.It serves two purposes, as a stable surface to fix components to and as a means of making an electrical connection between them. As someone who has been on the fringes of several PC builds I know what a PCB looks like but have no idea how you would actually go about creating one.
Turns out, not the crazy, complicated quest I first thought. The process is surprisingly simple as long as your artwork isn’t printed backwards! (more on that later). I’ve detailed the steps below, hope you find them as useful as I do:
Step 1 – Get your artwork, we picked up ours from www.picaxe.co.uk. As some of us are relatively new to this we are making the basic PICAXE-08 circuit, designed for the smallest PIC chip they produce, details here axe001_pcb.
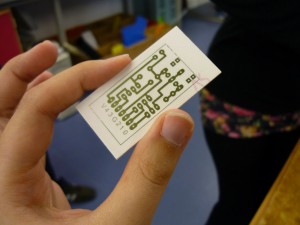
Step 2 – Print (the right way round!) onto acetate using a laser printer. Our first attempt was printed from the component view rather than the track view, this meant that the numbers printed on the board appeared the right way round even though the tracks were wrong! Unfortunately we did not realise this until we had finished the process and were soldering components to them, note to self, always double check artwork!
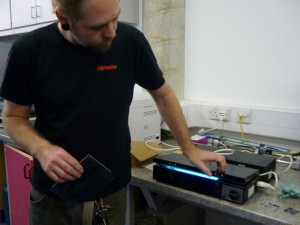
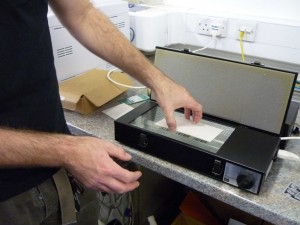
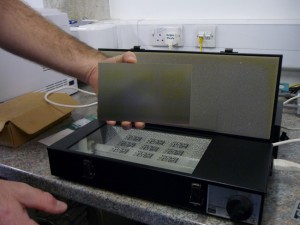
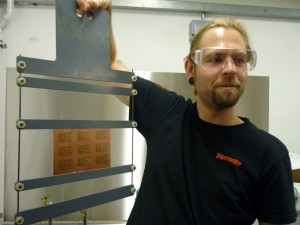
Step 3 – Warm up the UV light box. Peel off the black backing on the board to expose the photo-reactive chemical film over the copper, place the acetate sheet making sure it’s the right way up (When you hold the printed sheet over the board you need to be able to read any numbers or text) onto the light box and cover with the board, film side down, and expose for 3 minutes. (The guy in the photos is my colleague Steve who very kindly ran the demo for us, thanks Steve!)
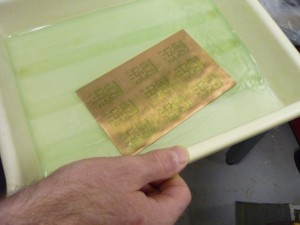
Step 4 – You now need to develop the image that has been transferred to the board. You need at make up a solution of (hmmm, can’t find my notes, will need to update tomorrow) in a shallow tray and place the board so it is entirely covered. Gently swish the solution over the board and you will see threads of blue running off the board, carry on until you can’t see anymore blue running off the board.
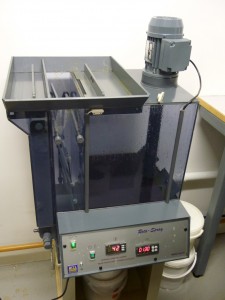
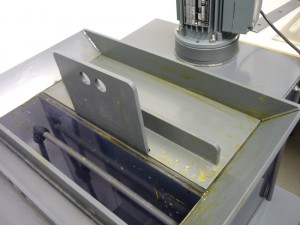
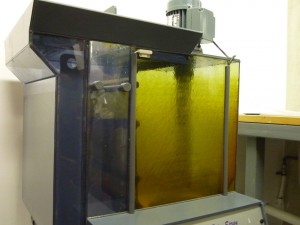
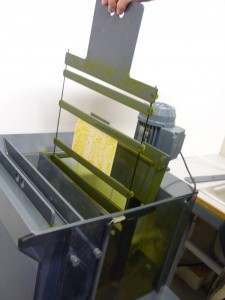
Step 5 – Now to insert the prepared board into the Rots-Spray etching machine to strip all of the unwanted copper away (H&S info on this machine found here). This machine also need warming up so make sure to turn it on at the start of this process. Fix the board into the holder shown below and slot into the chamber to the right (this unit has the capabilities to develop the board as well in the chamber to the left but it was not operational when we were using it) there is a notch in the bottom that the holder sits in. Make sure you close the lid! The chemical used to strip the copper is ferric chloride (COSHH info here), it will stain just about anything and can eat through cloth. Set the machine to etch for 1.5 minutes and you will see it start to spray a brownish, yellow fluid at the board (be warned it smells!).
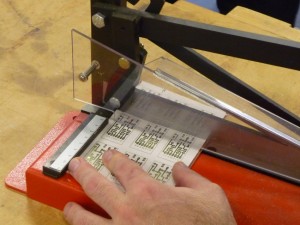
Step 6 – Once the machine has finished, wash the board in the middle slot in the tank to get rid of any remaining ferric chloride and cut to shape using the board guillotine. Using a little PCB drill make all the holes needed in the board. Tip: the drill will naturally find the middle of the hole if you gently hold the board and lower the drill slowly, it feels a little strange at first, normally when drilling you don’t want your material to move but it does work!
Right there you go. the lair was stormed, the dragon tamed (not slain, I think that’s mean) and the rubies gained and no longer shall I think of this as something beyond my capabilities. Now I just need to know how to use it…
